Meet Benji.
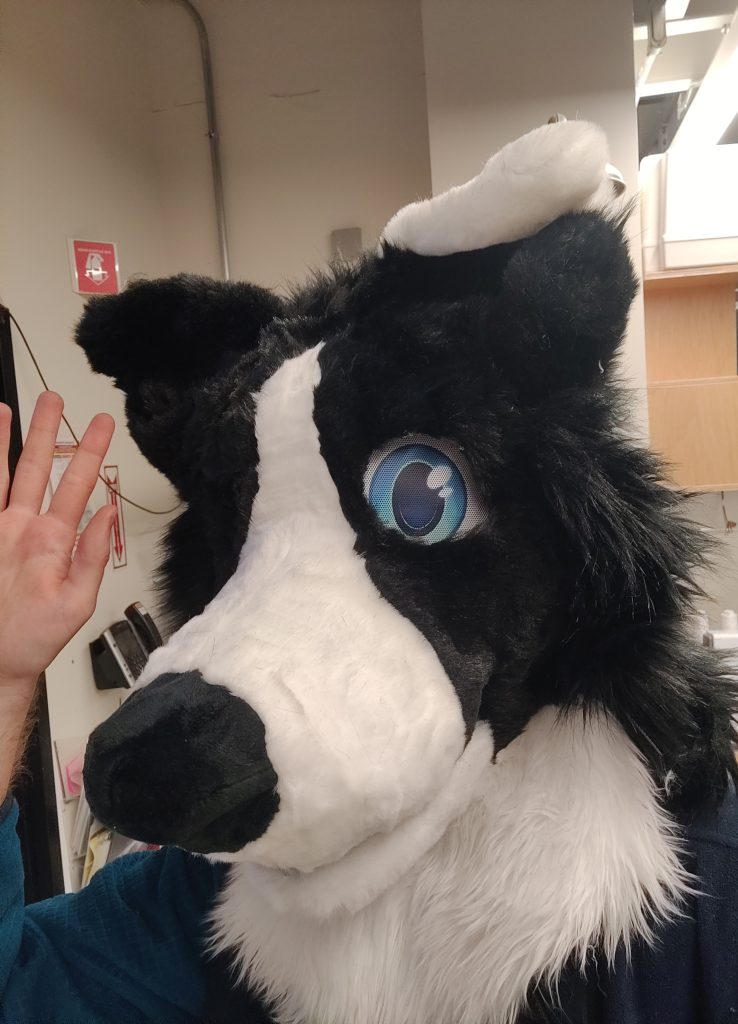
Benji is my second fursuit, a border collie. This is the full, in-depth story of how I made him, with every moment documented in egregious detail.
Looking for context? Need an explanation of what the heck this is? See my previous post for an explanation.
The Beginning
Just like the last time I did this, this story starts with a conversation online; this time with someone I met abroad at the 37c3 convention last year who lives in Paris. We had hit it off and spent multiple evenings together.
nocoffei, [3/24/2024 5:28 PM]
$NEIGHBOR
—
Today at 5:27 PM
looks like $FRIEND (and his partner? maybe?) will be visiting in OctoberIs this true or is he full of lies
$FRIEND, [3/24/2024 6:03 PM]
truth 🙂$FRIEND, [3/24/2024 6:04 PM]
friend from university has a wedding in NY so we’re visiting a few places in the US and Canada on the way
It was cool to note that a new friend who I did not expect to see again in person would be coming to my town so soon, so I filed the knowledge away. But it took on an entirely new meaning during a follow-up conversation three months later, when I learned that he was dipping his toes into the furry fandom just as I had a few years prior…
$FRIEND, [6/27/2024 6:52 PM]
I will be in the area from October 22 to October 25$FRIEND, [6/27/2024 6:52 PM]
staying with $NEIGHBORnocoffei, [6/27/2024 6:52 PM]
cool.nocoffei, [6/27/2024 6:52 PM]
ummmmm here’s a thought…nocoffei, [6/27/2024 6:53 PM]
I can set a self-imposed deadline to have my second suit done by thennocoffei, [6/27/2024 6:53 PM]
and you could wear it out for a bit
Cool story bro get to the content
Not to be outdone by an online recipe’s need to write a whole essay about their grandmothers cottage in South Carolina as a prologue to a chocolate cake recipe, I’ll get to the fun part now.
The theme of this post is project management. Unlike my first go-around at making a fursuit, I vowed to have a plan at every step of the process, and rely as much as I could on pre-existing work.
Specifically, the overarching objectives were as follows:
- Finish on time. October 22 was a hard deadline for this project, as it had a specific end goal in mind.
- Don’t model your own base. Modeling my own base was the source of the vast majority of my problems previously. This time, I wanted to rely on someone elses modeling skills.
- On the side, I was and am learning to sculpt my own models properly. But it’s rather hard as a non-artistic type!
- Accept mistakes, but don’t get lazy. It was a simple fact that I was going to mess up, and I needed to take mistakes in stride. But I didn’t want to accept a subpar end result, either.
- Stick to the basics. Don’t do anything overly innovative or “interesting.” There are established practices for how to do this kind of thing– stick to them.
On this last note, I had spent months talking to and listening to other makers in the community work to try and build an understanding of the state of the art for this craft. Since information for fursuit making is so spread out across poorly-indexed social media, random unindexed Telegram groups, and YouTube, I’m hoping that this work will provide a somewhat up-to-date examination of the whole process from start to finish of making a head in 2024, this time by someone who knows what they’re doing (relatively.)
Early Planning and Delays
I had initially planned to work off a base from a company that I custom commissioned in early June. I figured that with their roughly 1.5-2 month turnaround time, by the time it came in late July I’d have plenty of time to comfortably make a head. I had a specific character design from a video game in mind for this commission.
In the meantime, I made some “arm sleeves” for myself; patterned bits of fur that wrapped around your arms. For this, I combined advice from the owner of FloofUnlimited Fursuits and this excellent YouTube tutorial by Freckled Cat Creations.
Then I made some very large, very shaped paws with this pattern from Finch Factory Fursuits.
Arm sleeves are surprisingly easy to make; you just have to convince yourself that it boils down to a cylinder that’s roughly shaped to your arm. The hardest part is definitely understanding how the shape works, at least to me.
This paw pattern, on the other hand, was definitely not simple to make, nor fun. I clearly did not heed the warning of “This pattern is slightly advanced, moderate sewing experience recommended”. It took me 30 hours to make them.
And August blew by while working on these. Then early September. I spoke to the company; they promised to ship them out in the next batch. Two weeks passed after that, and by mid-September, it became clear that I could not possibly finish if I waited another day.
The base I commissioned wound up arriving something like mid-October, 3 months after I placed my order. Good thing I moved on.
OK, Now What?
Fortunately, some time ago I had purchased a base from Honey Dadger to learn about how TPU worked. TPU is a flexible 3D-printing filament that lets you squish and manipulate it without losing its form; it’s very promising as a fursuit head base material as those properties are desirable. I unpacked it on September 14 and set about working on it.
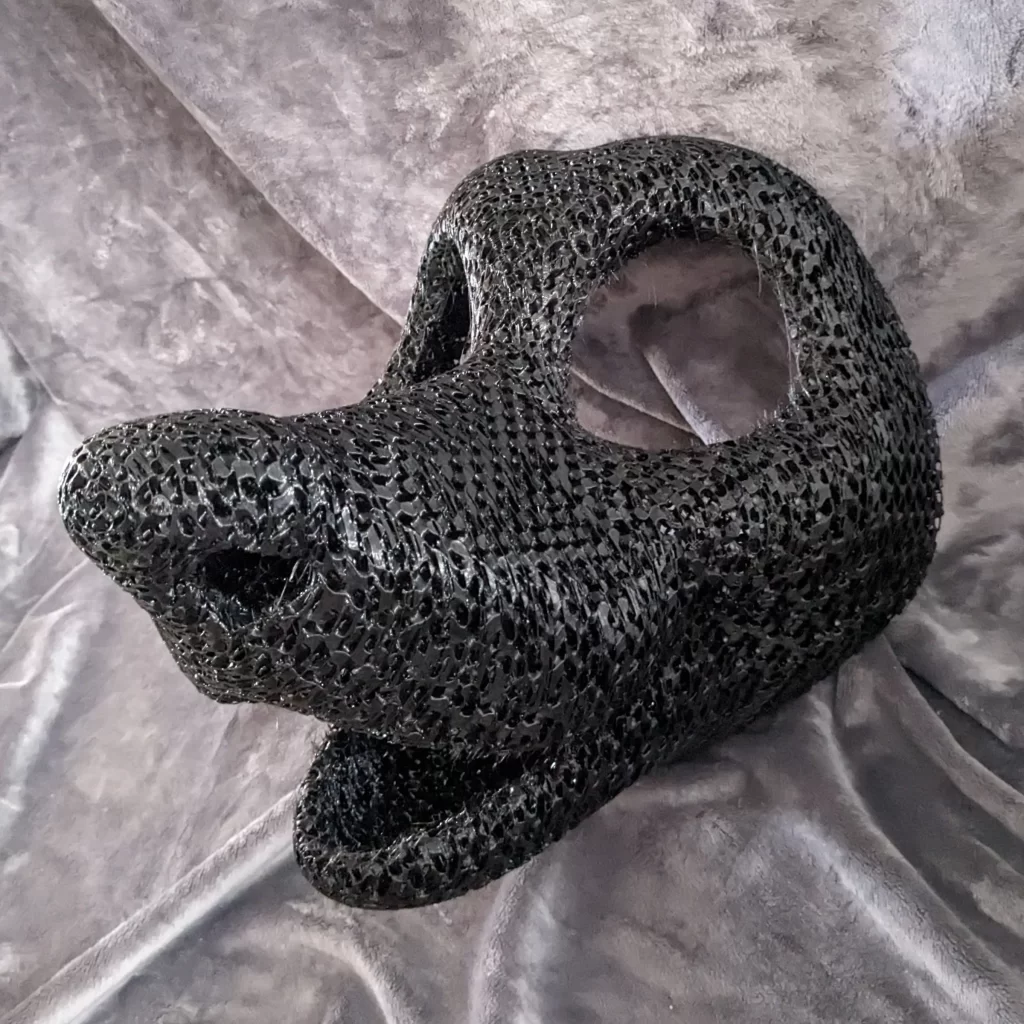
I had 37 days to complete this project from the start date. No time to waste!
The first thing I did was make a very large trip to Joanns. I bought upholstery foam in both 1″ and 1/2″ thickness, (for padding on the inside and extra shaping), neoprene for internal liner, a couple other types of fabric, a new hot glue gun, bias tape, fursuit-appropriate zippers, new thread and a couple other assorted items.
The first steps of making a headbase are to prep it for furring. These steps are fairly well described by Gatorwave’s head base prepping tutorial.
This head base did not come with ears, as is the norm. My initial instinct was to try and print some using TPU, a technique that I haven’t seem many other makers using but feels fundamentally sound to me. We generally want ears to have a certain amount of flexbility to them, which is why they’re usually carved out of foam, and TPU has this quality. I made a nice sculpt with some help from Honey Dadger.
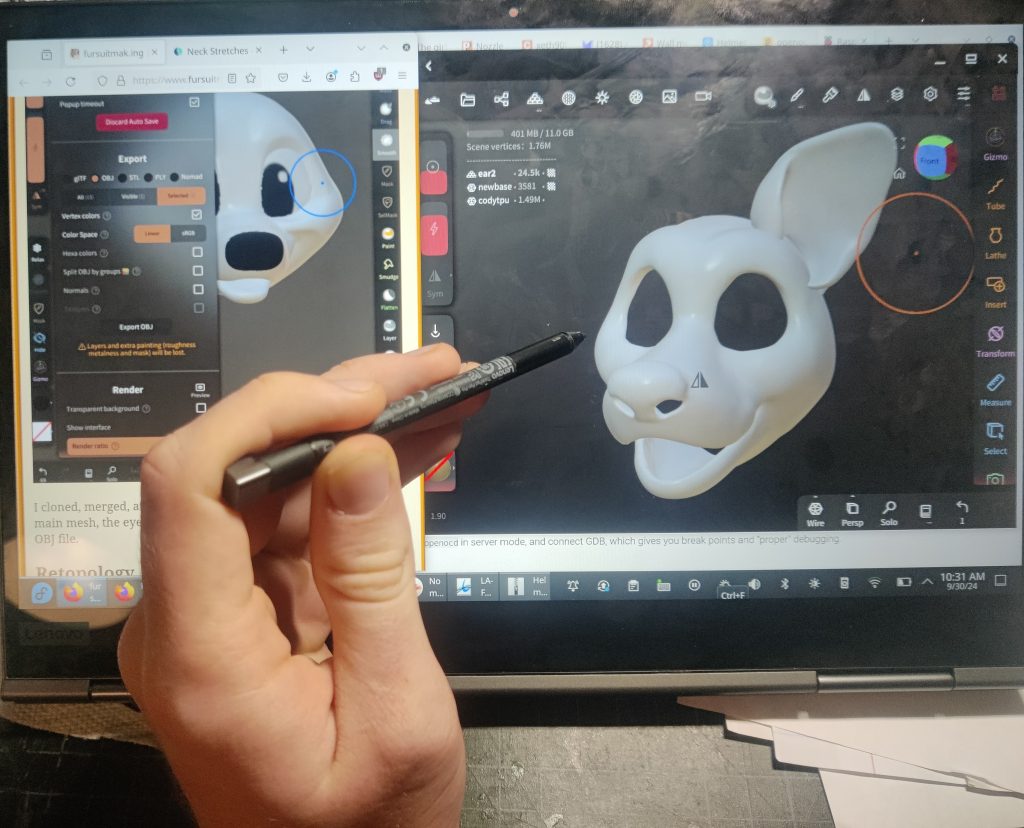
My sculpting tool of choice is currently Nomad Sculpt, thanks to Gatorwaves exceptional head base sculpting tutorial. Instead of buying an iPad, I took a ThinkPad Yoga I had lying around, shoved Fedora KDE on it, and ran Nomad using Waydroid.
I mentioned this to some locals once and they responded with this comment:
nocoffei, [9/30/2024 10:20 AM]
it’s a very very hacked together “””Android””” tablet running Linux$PERSON, [9/30/2024 10:21 AM]
modern Renaissance furs in here sculpting heads using hacked tabletsnocoffei, [9/30/2024 10:21 AM]
LOL
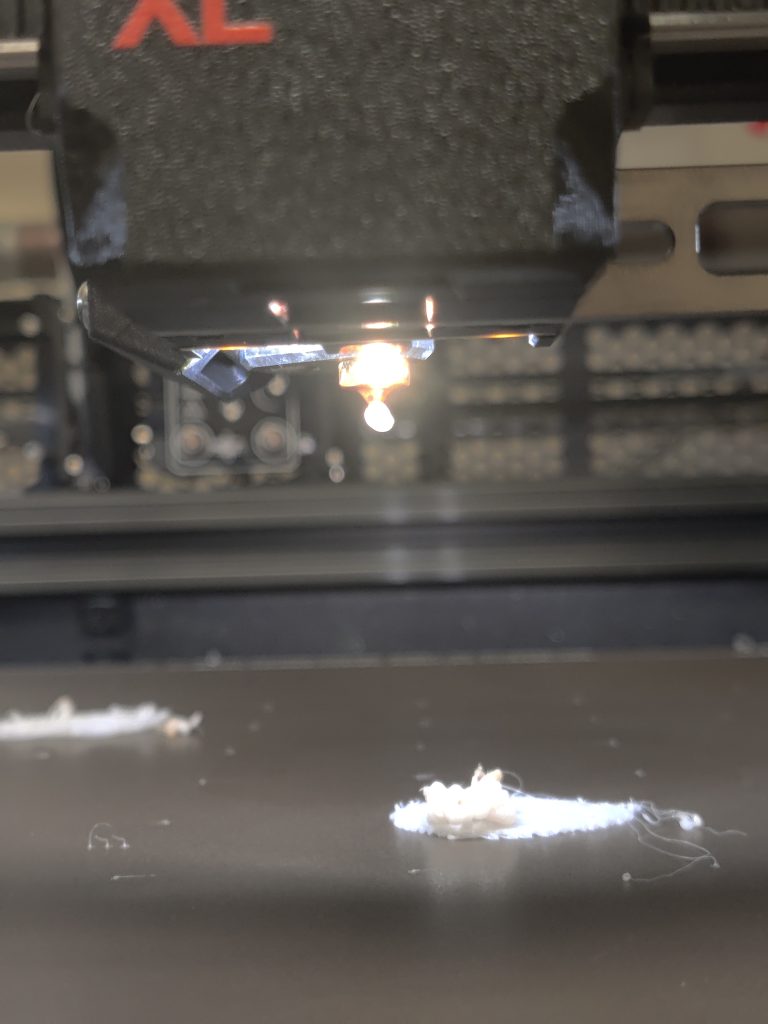
Unfortunately, even though I managed to make a decent sculpt, the printer I have access to immediately jammed when I tried to print TPU with it. TPU is a notoriously difficult material to print with, and I didn’t have time to spend a week or more getting a reliable print, so I gritted my teeth and moved on to sculpting them out of EVA and upholstery foam.
Headbase Prepping
This section pretty much follows Gatorwaves head base prepping tutorial to the letter.
I was inspired by Roh and her exceptionally sculpted ears, so with some input from her I managed to put these together. The idea is that the “cartilage” on the ears is so thick you can stick your finger in. I’m a fan of this art style!
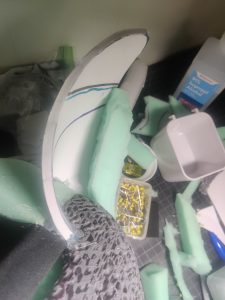
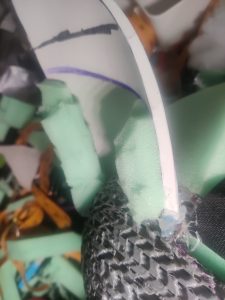
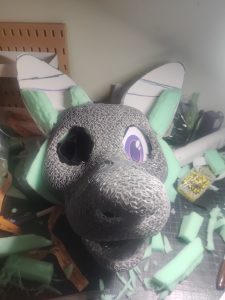
I ripped out the second mini-cartilage on the left after this photo. The eye mesh was a spare for testing
You’ll notice that the cartilage did not extend all the way to the tip of the ear, but instead stopped at a line I drew into the foam. That’s because I wanted to make these ears floppy, similarly to how a real border collies ears flop. I made each ear flop a different amount by proceeding with everything as normal, but chopping away a certain amount of foam at the end, leaving some fabric free to flop around. Roh showed me this technique by linking me to this tutorial by SkyeHighStudios. I shaped the cartilage to match.
Getting both the shape of the ear base and cartilage to look and feel right was a challenge as someone who had never sculpted foam before. It took me a couple hours. It was just a lot of trial and error, and as you can see, my desk was littered with scrap foam pieces afterward.
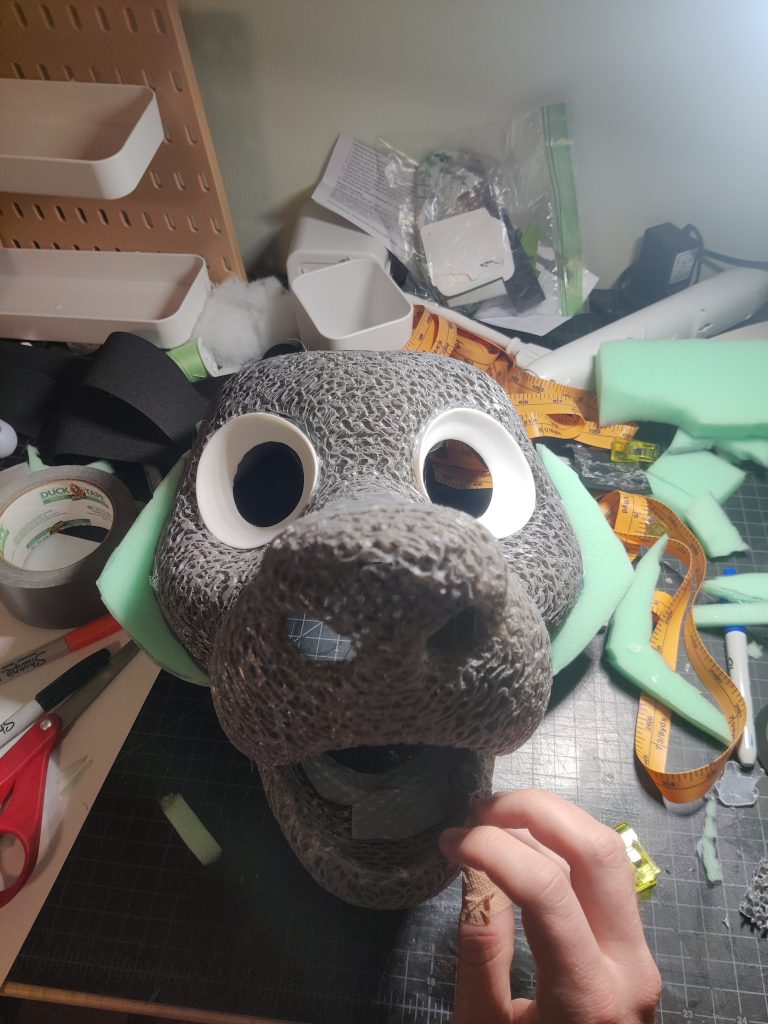
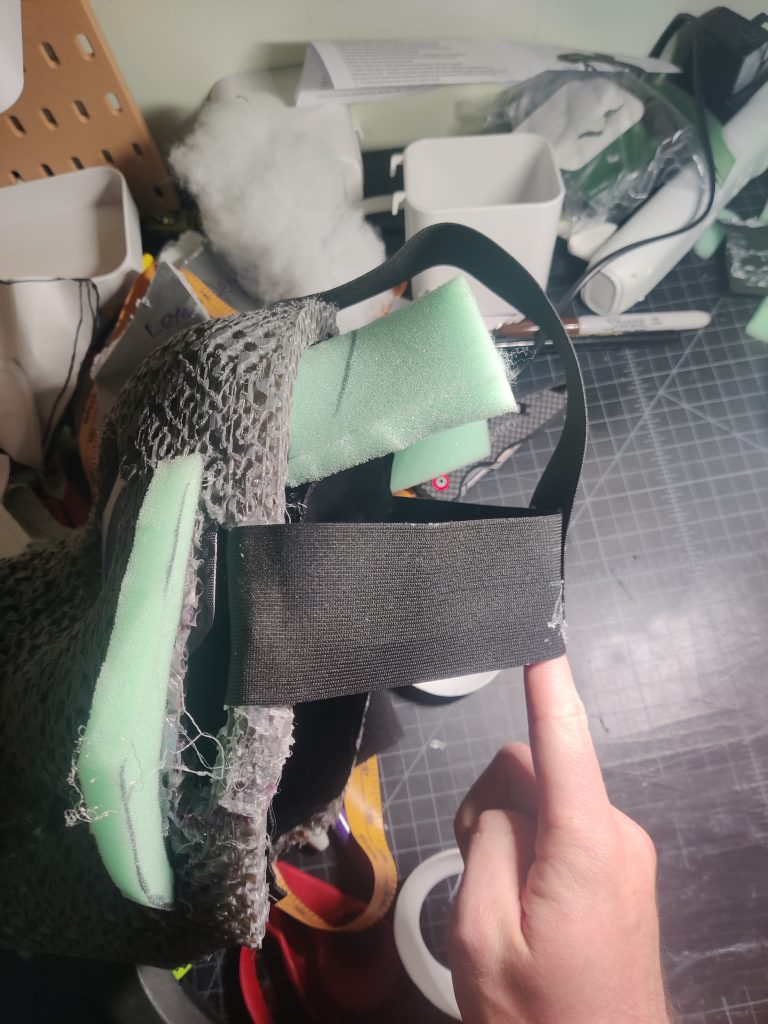
While working on this, I made a crappy internal liner (for comfort of the wearer) and some padding, some elastic straps for the back of the head, and cheek fluff. I installed the 3D eye blanks that came with the base.
I then realized that I was dissatisfied with the way the elastic straps held up the head… So I made new ones, which turned out to be even worse. I then re-installed the original ones. Hot gluing the regions of the head where this sat this many times put a great deal of strain of them. A solid waste of a couple hours. I also ripped out the eye blanks, as I was dissatisfied with the way they looked.
Taping and Cutting
I had ordered a mannequin head, but it was delayed in shipping, so I resorted to ye olde “tape the head while it’s sitting on someone else’s head” approach. Like last time, this was necessary in order to get the cowl pieces right, the part that sits on the wearers shoulders. I phoned a friend to be my dummy this time, instead of doing it myself. I taped the entire head while she was wearing it, with a rain coat over her head to protect her long hair. I taped the entire head, including all the delicate portions of the face, while she wore it, instead of just the shoulder regions; this wound up taking two hours, so I treated her to dinner afterward…
And this is where the mistakes began
Not realizing that taping the front of the head, instead of just the shoulders, would take so long, I overshot the time commitment I promised to this good friend by four times. In a rush to get the darn thing off her, I made two serious errors:
- I cut some holes in my rain coat trying to cut the tape off with scissors. It hasn’t rained here since then, so I hope the patches I put on will suffice. :/
- I failed to take pictures of the tape. Despite making this mistake my first time around, I made it again. This led to multiple collective hours of puzzling out how the pieces fit together, instead of just having a working knowledge base in photos.
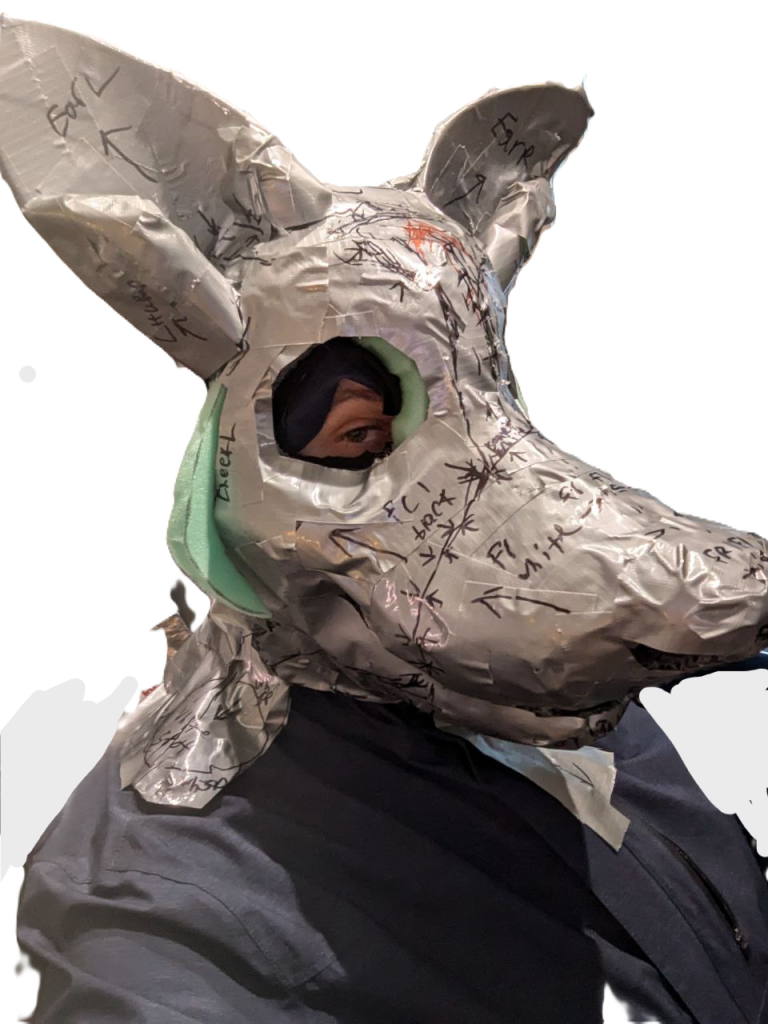
While not another error, I found it noteworthy that on the final product the cowl doesn’t quite rest on my shoulders correctly; it’s too short. It seems that her head and neck proportions differ substantially from my own. I’ll need to look into this further to address it properly in the future.
Mirror
Duct tape is still sticky after you pull it off the head base, so this time I took a roll of paper towels and laid all the tape pieces on to them. I then pulled the pieces away until the paper towels didn’t stretch out any more. This meant another hour of two of labor, but a perfect guarantee that the tape pieces would not stick again. I suspect there’s a quicker, easier and equally effective way.
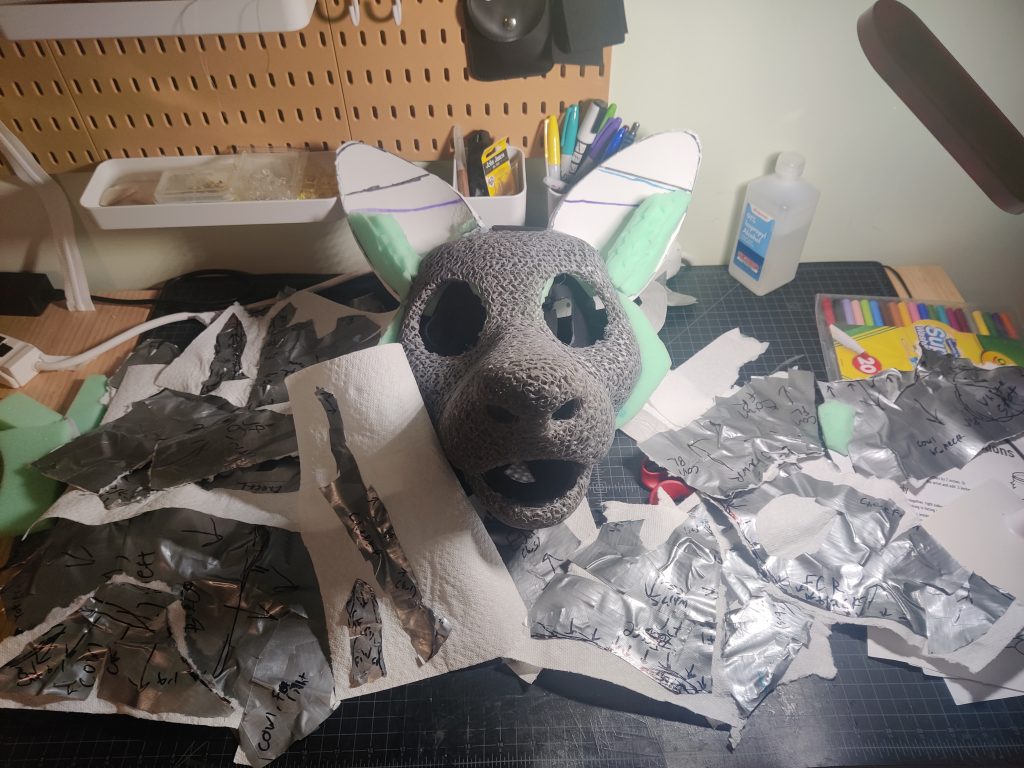
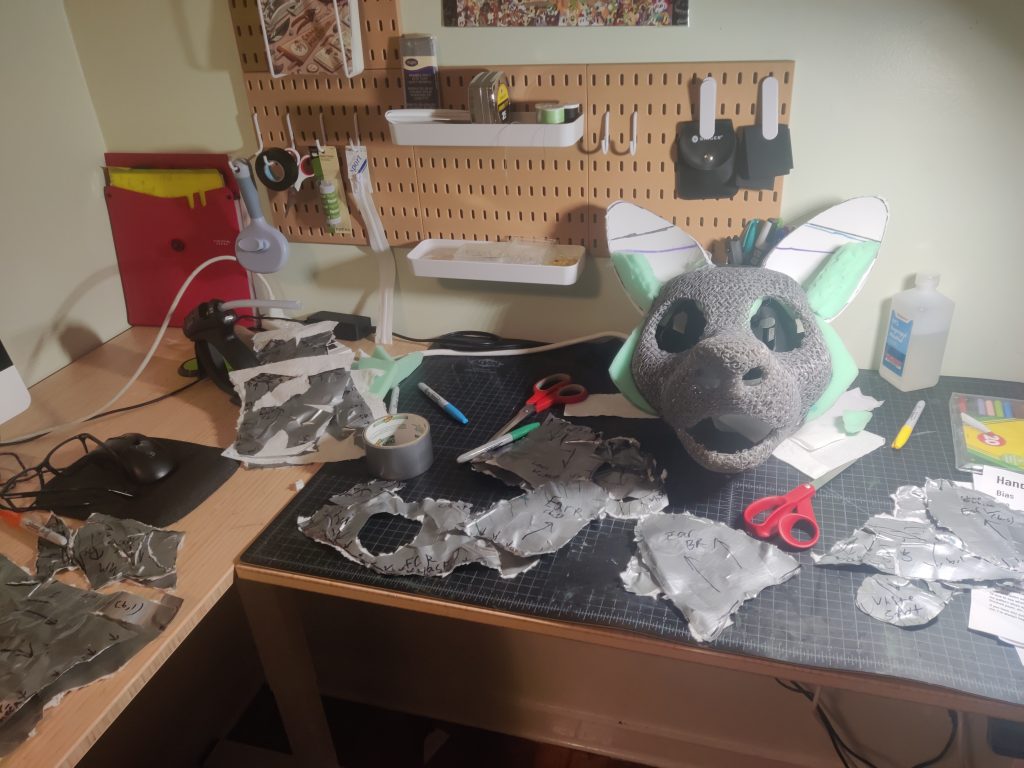
I then proceeded to make the biggest mistake of the project. By this point I had decided on Benji’s name. It has no particular meaning, I just like it. Well, Benji’s nickname is “Mirror”, and here’s why:
When cutting out the tape pieces into fur, I did not flip the tape pieces, and instead patterned them directly. This had the catastrophic result of making every piece I cut that evening flipped.
Although Benji is a symmetric design, I chose to tape the entire head, both left and right, and cut each side individually. Had I chosen to tape only one side and cut each side forward and backward (a common time-saving technique), this mistake would have been meaningless, as I would have wound up with two symmetric sides anyhow; however, as it stood, the cut pieces were largely worthless as the left side could not be reasonably placed on the right and vice versa.

I shouted some curses loud enough for my neighbors to hear, spent another hour figuring out what could be saved, and discarded the remaining pieces.
I had to discard all of the face and ear pieces and cut them again the following night, but surprisingly, the cowl and jaw were almost completely saved; I just happened to cut them symmetrically enough that with a lot of wonky sewing I was able to make them work.
For the remainder of the project, I tracked which seams met the pieces I re-cut and the pieces I saved, and inevitably at every one of them there was something weird about it. The final seam of the project required that I cut an extra block of fur because the gaps missed each other by two inches.
Onwards
Being forced to re-cut the face pieces allowed me to focus on the next mistake of the project that became apparent at this point: the fur length.
My first project used full-length fur and did not shave it at all (until eight months later.) This time, I intended to shave the fur properly the first time. The best way to accomplish this is to get the fur short, in the places it needs to be short, before putting it on the head. There are two ways to do this:
- “Pre-shaving”, shaving a large block of fur before individual pieces are cut;
- Simply ordering two lengths of fur.
The latter is what I chose to do; it’s more expensive, but saves time and leads to a higher quality result, as the fur fibers are produced to a higher quality and thickness to compensate for the short length.
If you order the correct type.
I had already ordered white long fur and “beaver fur” for a previous project. However, when I decided I would make a border collie, I ordered black fur in long and half-length, which is the same as full-length (2″), just cut in half (1″). “Beaver length” (1/8″) is the sweet spot for quality and length on faces, so I’d have to shave this anyway.
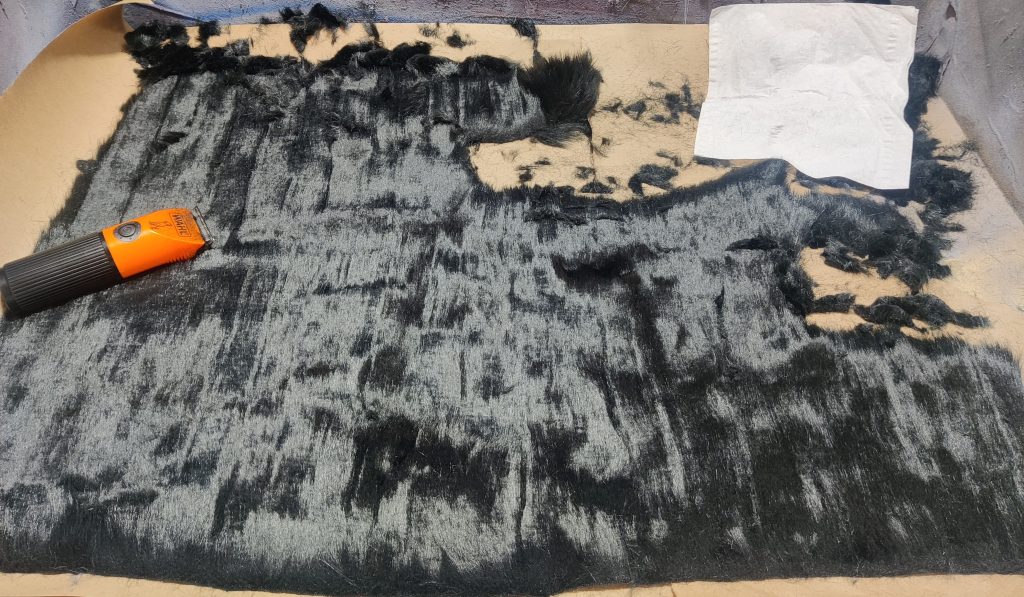
I took my garbage $30 double-A powered pet clippers, sat down under a local makerspace’s fume hood with a respirator on, and took my first swipes…
Shaving fur is insanely toxic. Miniscule plastic fibers that come off during the process can make their way into your lungs very quickly and stay there forever. Wear a proper respirator. Use a fume hood if you can.
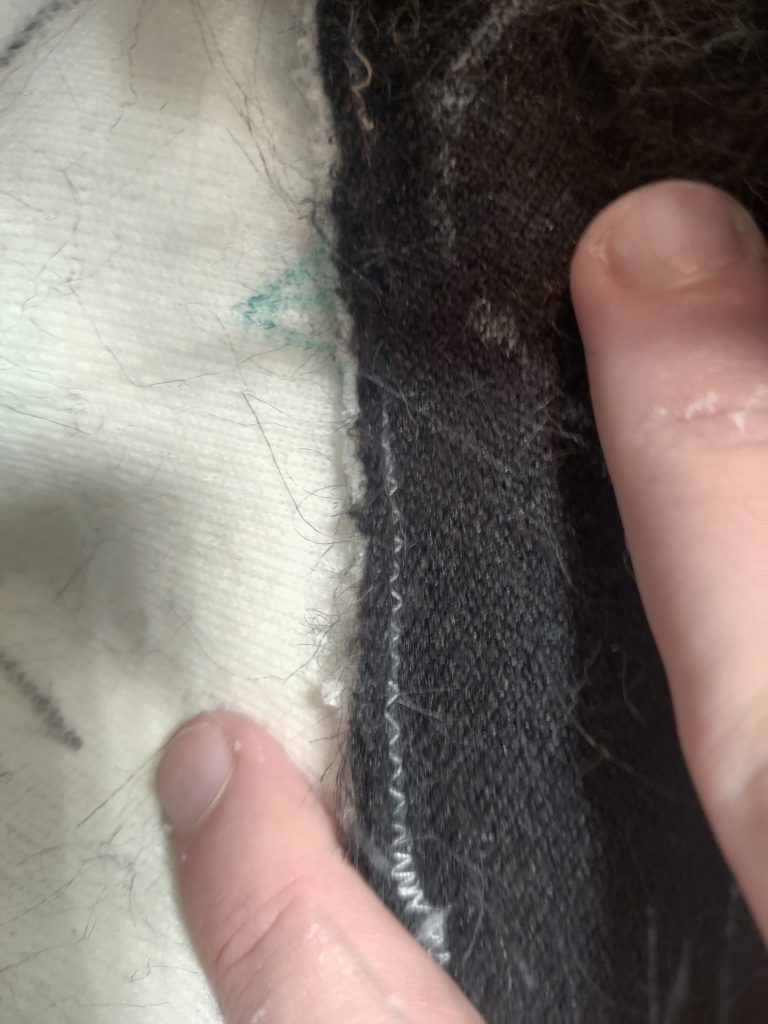
From there out, it was just a lot of sewing for a while. For this project, I primary machine-sewed the pieces, but in an unusual way: A zigzag stitch with wide spacing, and low tension. The low tension allows the threads to stretch out when pulled flat, effectively making a fake serger.
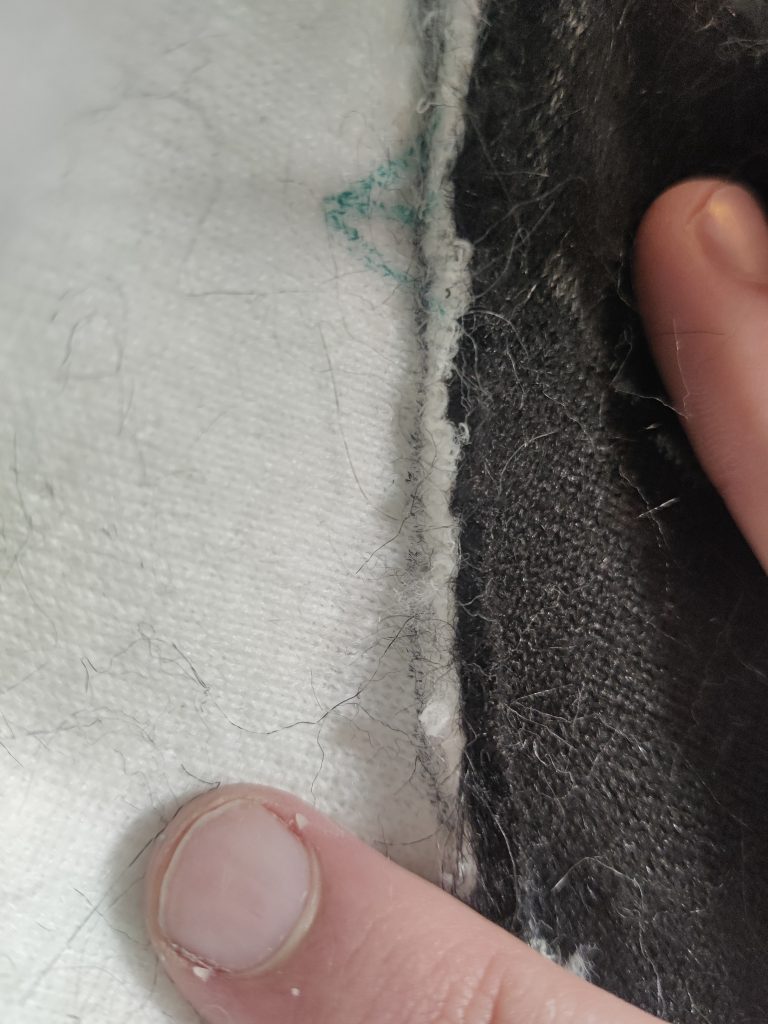
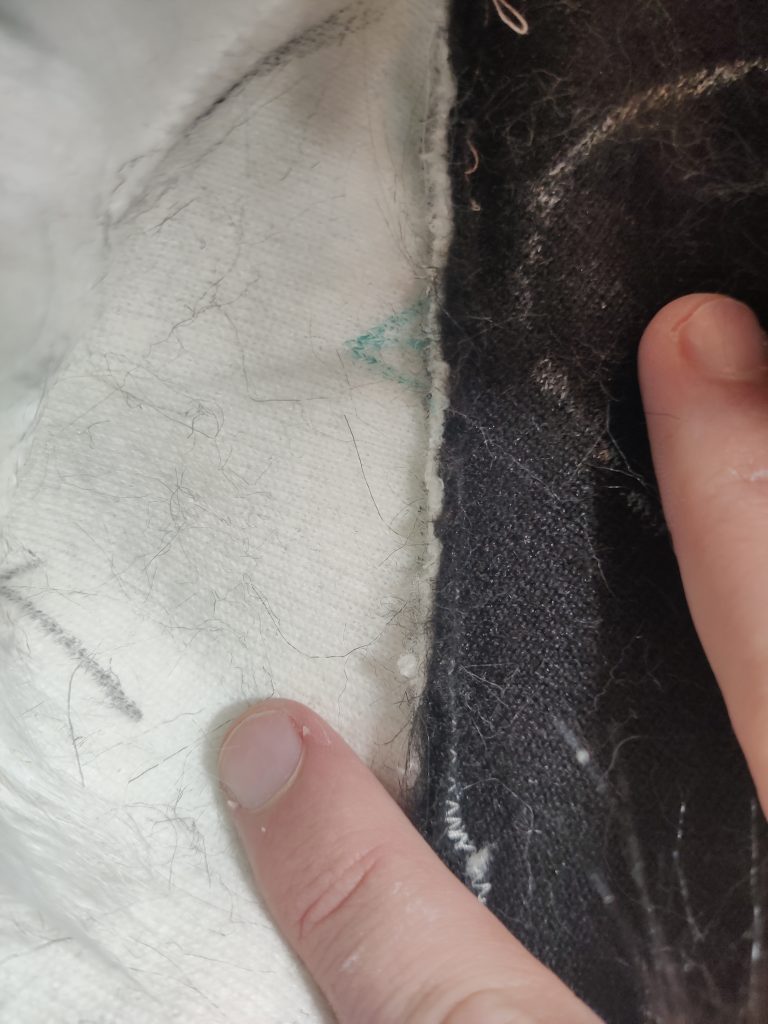
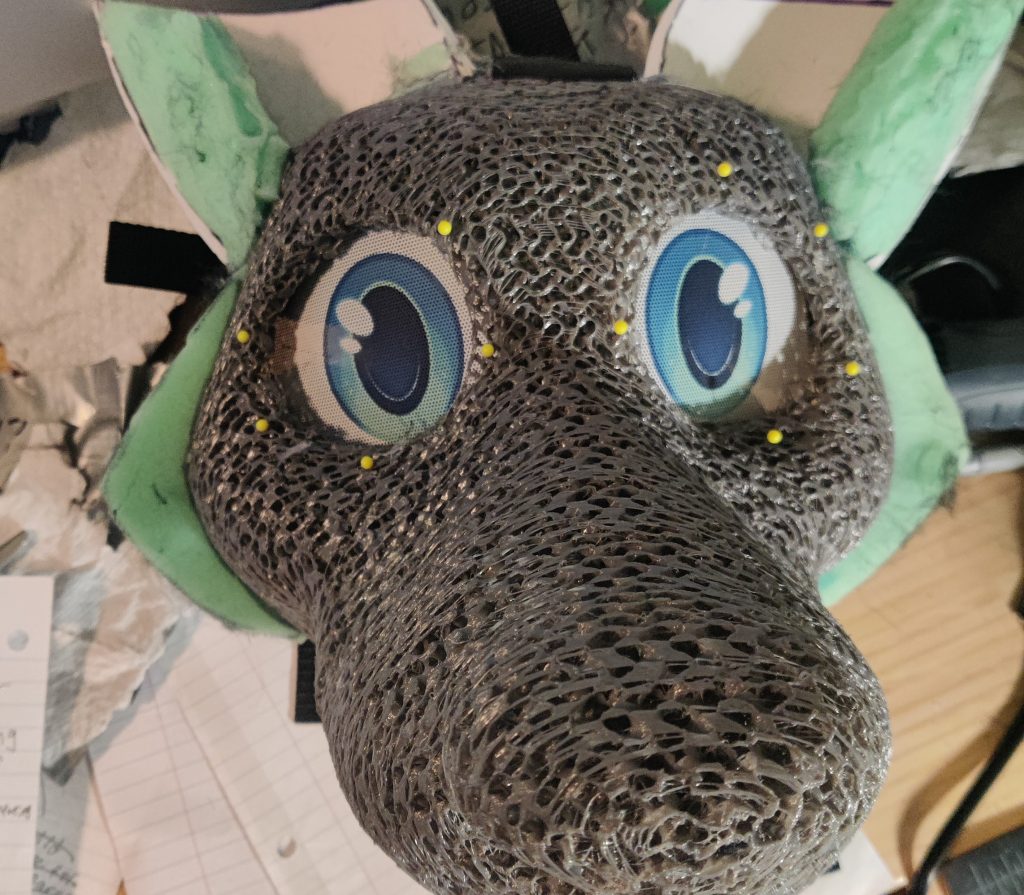
My dye-sublimated eye mesh from the excellent maker Arcane Sorcery arrived around this time. As it turns out, it’s really quite annoying to install this mesh late into the project, especially if you don’t have 3D eye blanks and are binding it directly to the base. I suspect that next time I’ll both install them first and use some eye blanks that I’m happy with. On the other hand, the ability to use pins to set the mesh where I wanted while gluing was pretty amusing…
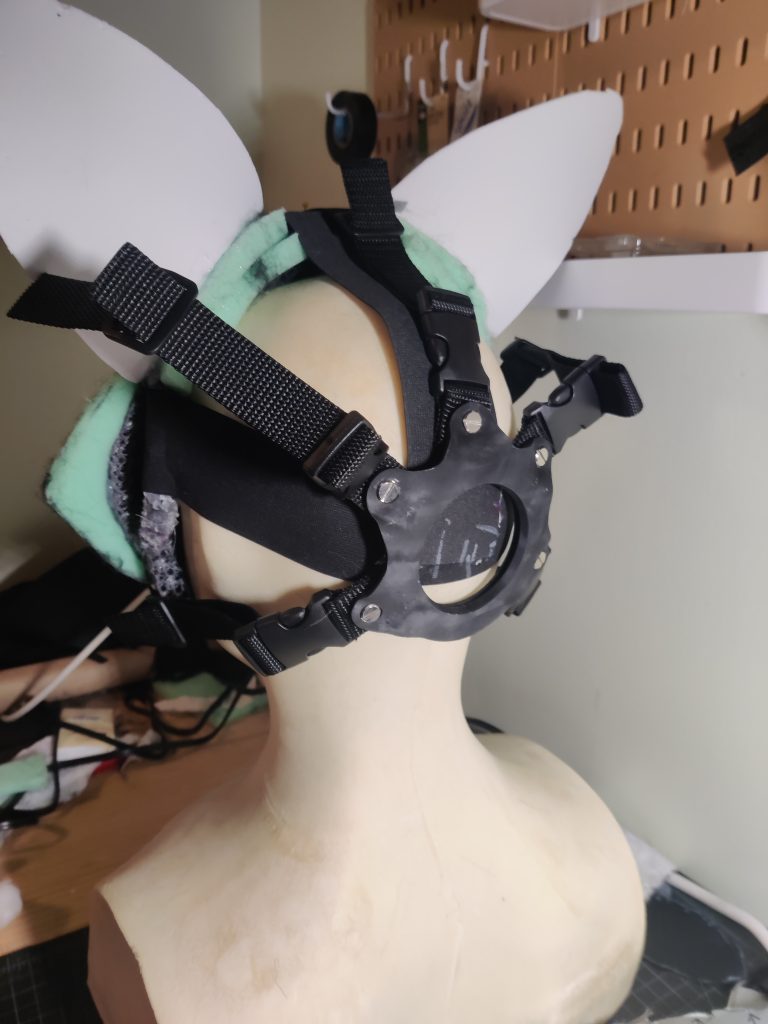
My earlier woes with making elastic straps for the head also had a happy ending; out of the blue, the head harness and mannequin I ordered months ago arrived, allowing me to install a permanent, effective solution with ease. Though, I’m not sure I’ll use it again in the future; acquiring these is very difficult right now, and this particular one weighs almost as much as the TPU base (though that speaks more to the bases lightness than the weight of the harness…)
The sewing work continued, which, barring the frustrations from figuring out which pieces went together, was probably my favorite part of the project. Something about machine sewing is relaxing, and watching the pieces slowly come together is encouraging.
In the vein of repeating my past mistakes, I massively overthought the design of the nose piece, which wound up leading to a result I wasn’t super happy with.
Glue Investigation
I had promised myself that I wouldn’t pull any attempts at innovating in this project, and just focus on the fundamentals and tried-and-true techniques. Unfortunately, my vulnerability to nerd-sniping overcame this resolve.
We need some way to bind the finished and sewn fur pieces to the base. Hot glue has a lot of attractive properties for this task. First and foremost, it’s cheap and universally accessible. It’s low-tack, meaning that once you contact it, it does not adhere and stick until dried. You don’t need a lot of it to effectively bind fur, either.
The downside is the extremely quick set time. Hot glue dries in well under a minute. This means that you have to adhere the fur in stages; starting from the tip of the base, you have to adhere the nose with a bit of glue, roll up the fur, glue a line, roll it up, glue a line… Until you’ve adhered the whole face. There’s room for error here, things can wind up looking slightly off as a result of accumulated errors.
Additionally, this approach means that the ear fur has to be glued separately from the main fur and hand-sewed together from the outside after gluing, as they’re pointy and can’t be included in this “roll-up” process.
What we’d like to do is have a glue that lets us put the entire, finished fur piece on, set it in place until it looks right, and then press a magic button to instantly adhere the whole thing to the base.
Waggery Costumes has perfected exactly such a technique. They use a highly specialized, industrial grade, and very, very expensive spray glue gun that adheres to their foam-casted bases. The fur is attached, and the base is heated, which causes the glue to re-melt and adhere to the fur.
Interested in replicating this technique, I spoke to them, and they suggested two things:
- Try applying hot glue with a tongue depressor, and then try to re-melt it.
- Try a specialized spray foam adhesive.
The first method seemed promising, but how do you re-melt the hot glue? All I managed to accomplish was burning the fur with a heat gun (a hair dryer isn’t powerful enough). Regrettably, I didn’t get any pictures of my experiments here.
And the second method was even more interesting… Unfortunately, this chemical doesn’t work because it has instant tack. So it’s not possible to pull a fur sock over an ear, as the moment the two surfaces touch even slightly they’ll adhere.
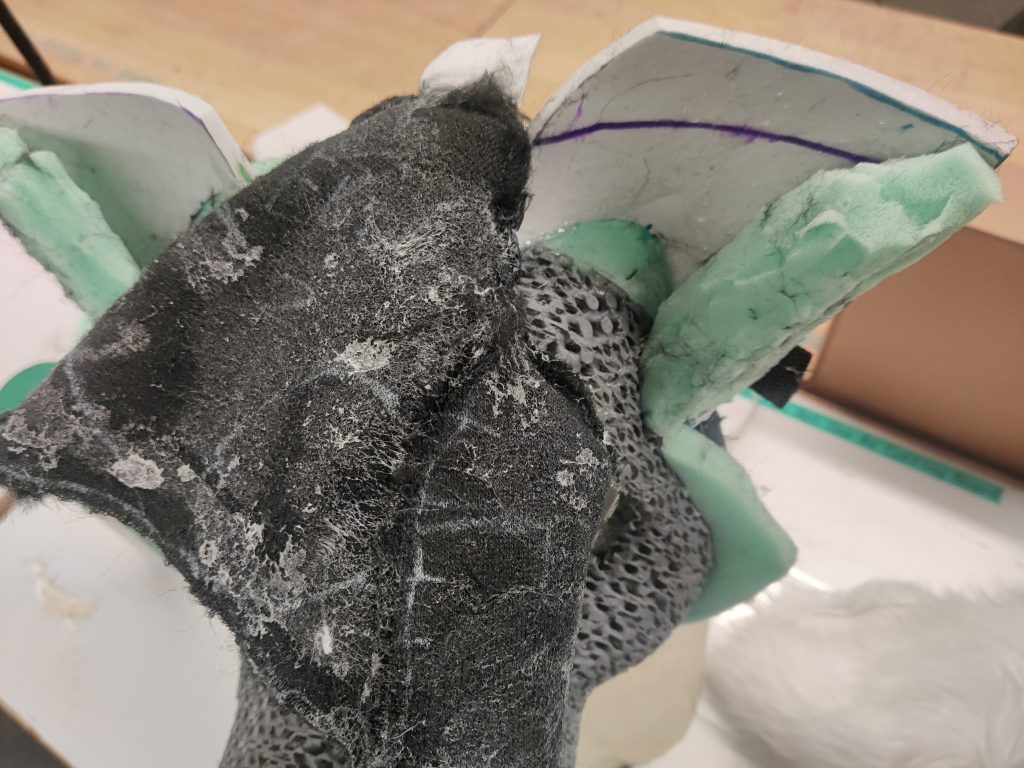
So, back to the drawing board on this idea for now. Maybe I’ll pull it off on another project. And on the fur went, using the traditional hot glue method. The fur wound up ever so slightly crooked, but it’s not enough to notice.
Preshave But Again
The $30 AA-battery powered clippers wouldn’t cut it to do the final shave. I needed something better. But what?
A recent discovery by other makers was these $40 Chinese rug clippers on Amazon. I understand that they were originally discovered by The Critter Cove (warning: Twitter link). I acquired some of these, having heard the rumors, and they are ALL TRUE. These are INCREDIBLE for shaving fur. Went straight through the fibers like butter, running much cooler and more adjustable than pet clippers 3x their price.
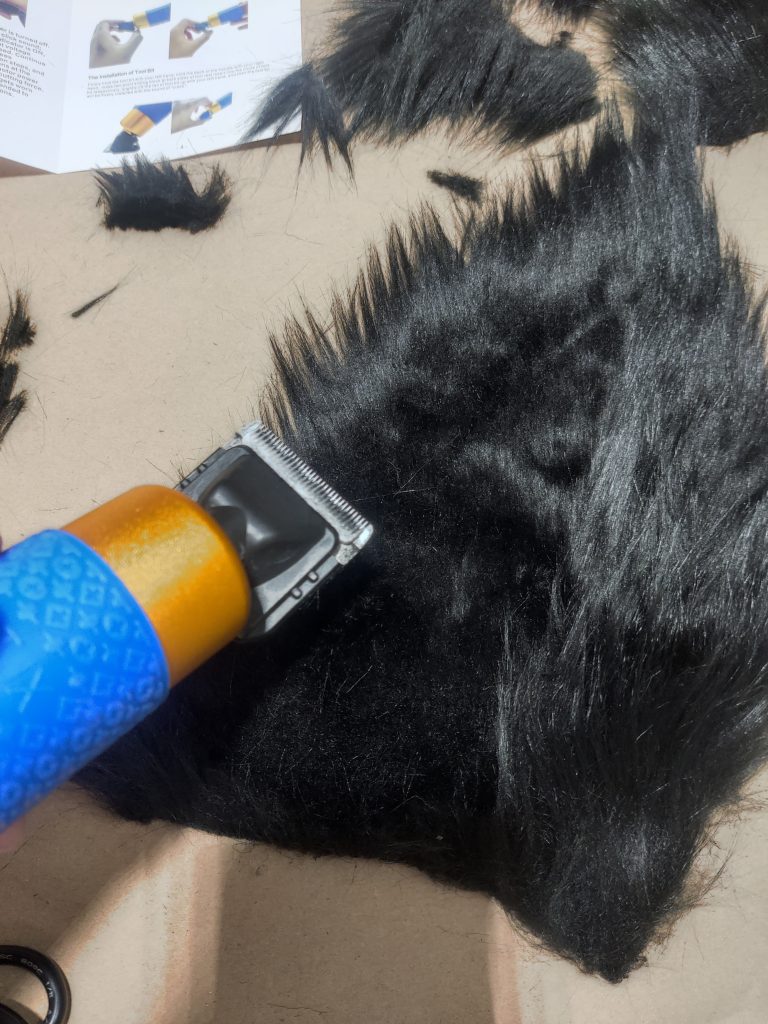
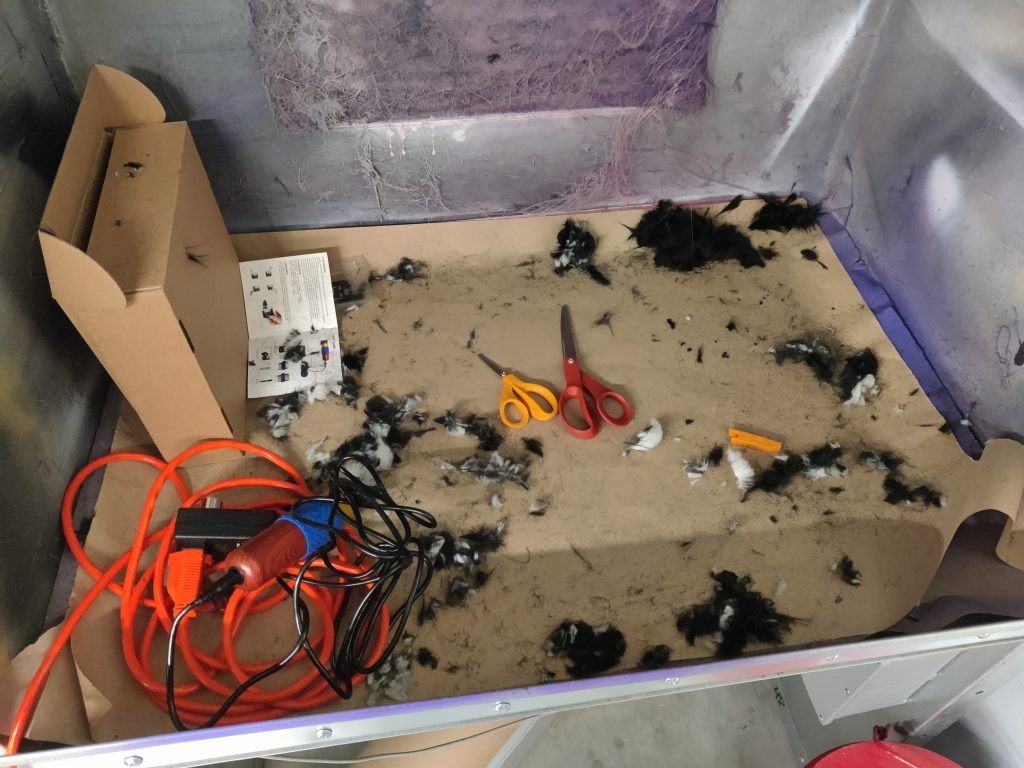
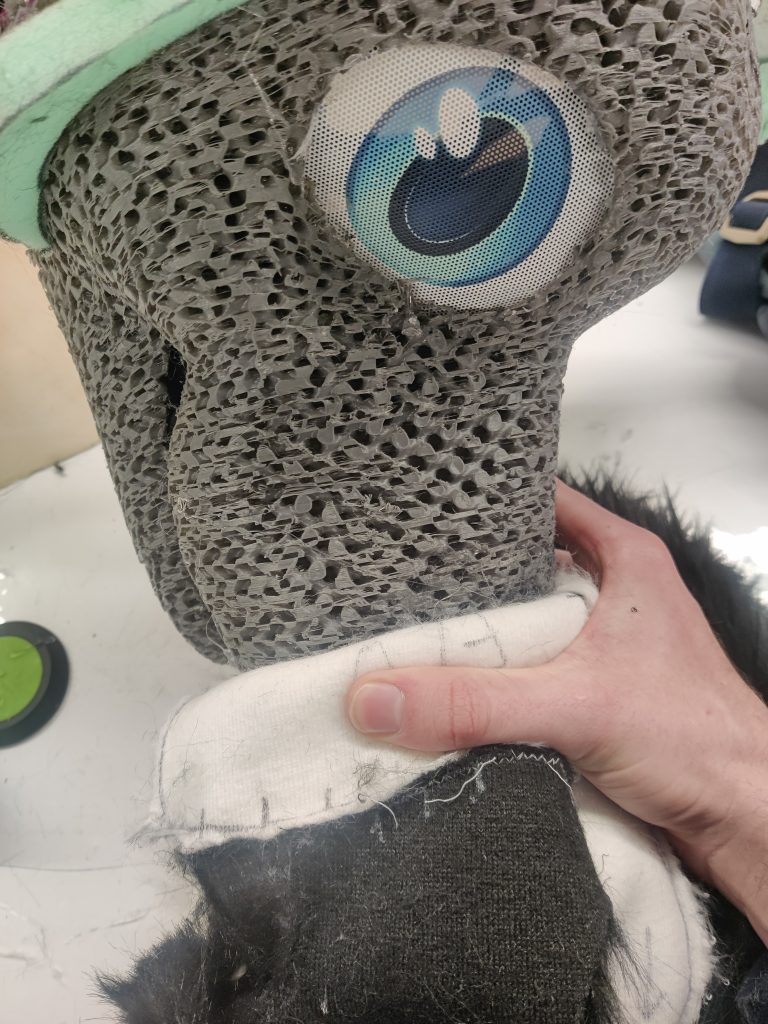
I preshaved as much of the fur as I could before gluing it on, being that it was already sewn together, and then did the big shave job after gluing. It wasn’t perfect, but for my first shave job on my own, I’m pretty happy with the result!
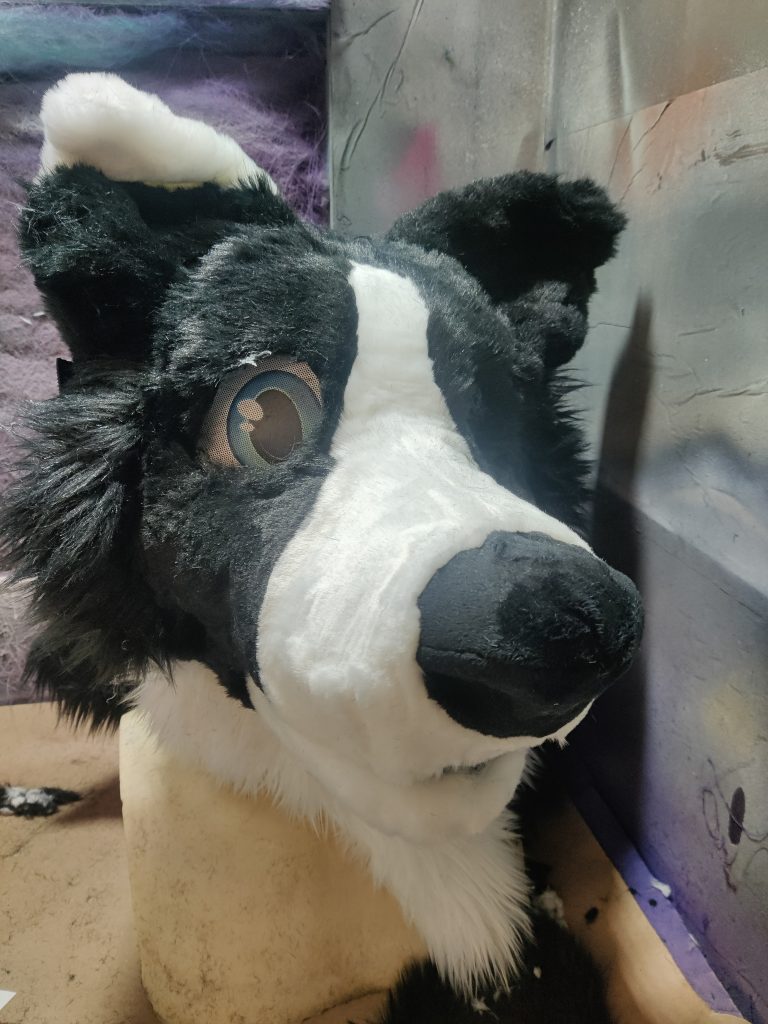
Finale
Lots of handsewing and cleanup later, I made one more touch-up shave (it’s always best to walk away for a day, then you can see what you missed with fresh eyes) and the boy was done on October 22nd!
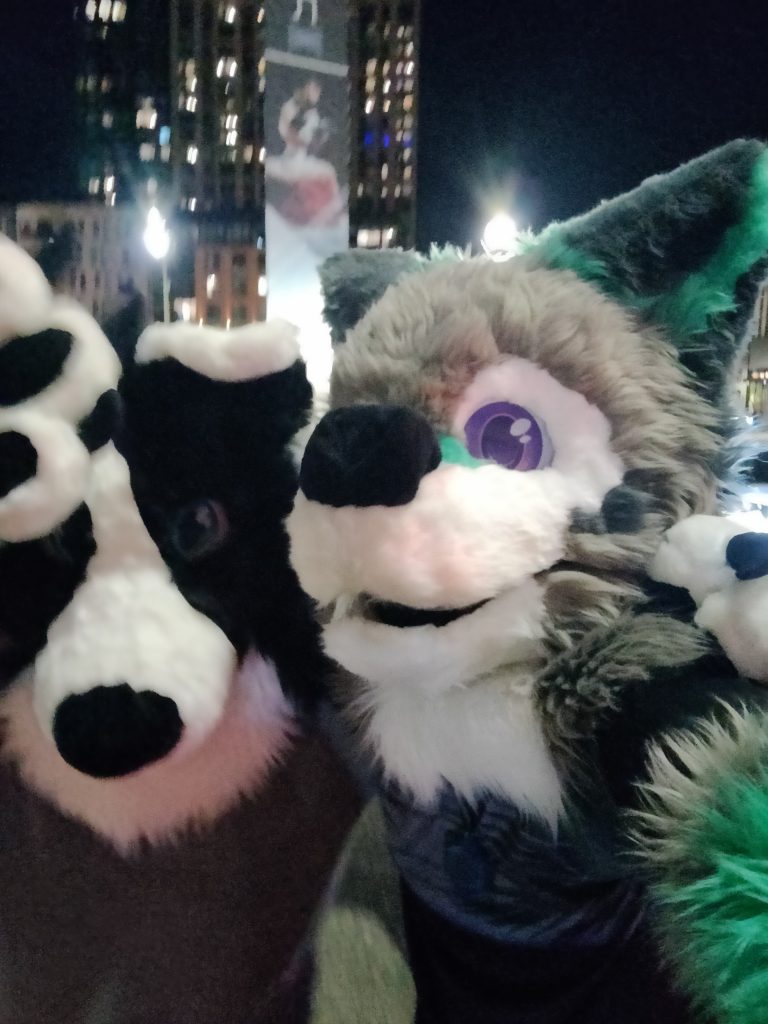
On October 23rd, my friend arrived in town right on time, and we took to the streets together, alongside a few other local furries to take pictures and make a full-fledged parade.
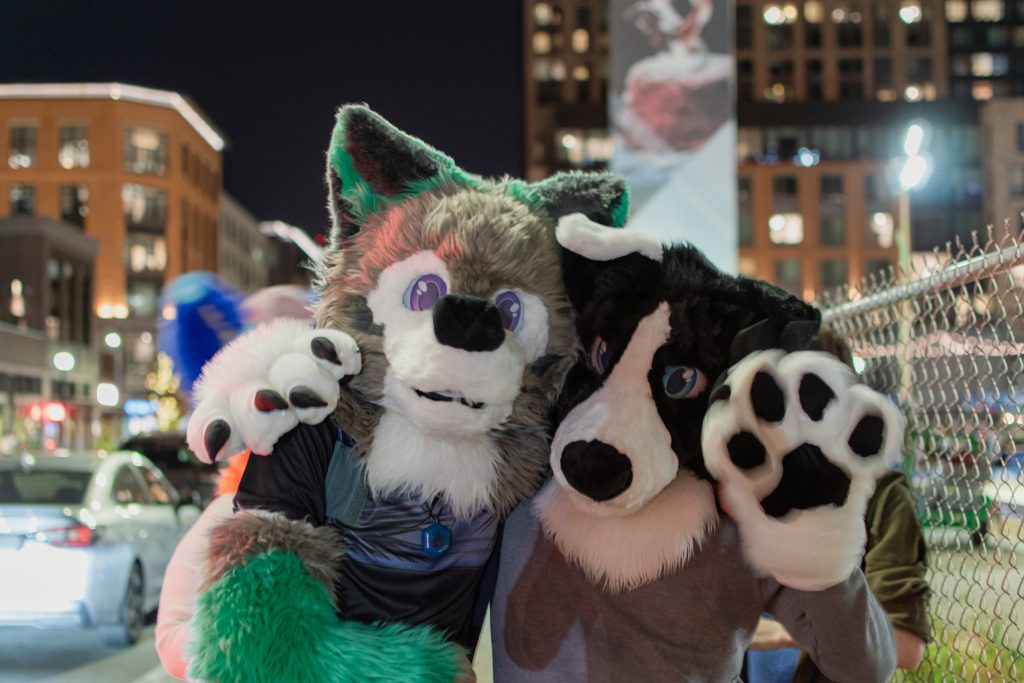
This project took about 78 hours in total, from September 14 through October 22. That averages out to just over two hours a day, 7 days a week, though of course more hours were put in near the end. A full time log can be found below…
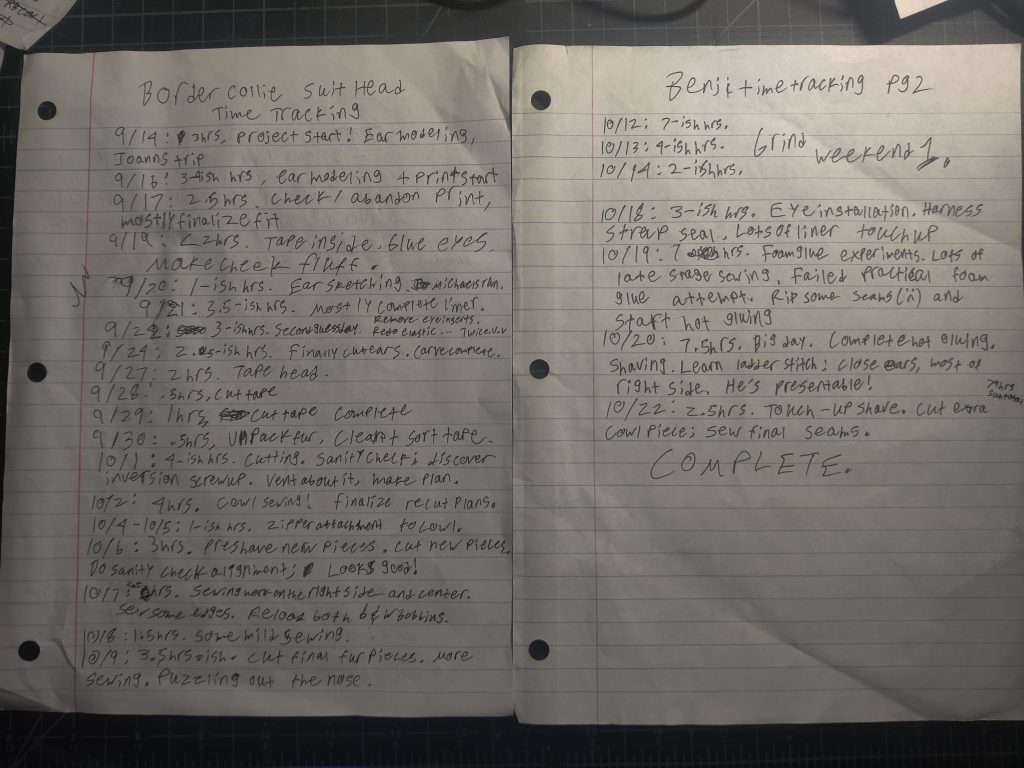
And various assorted notes can be found here.
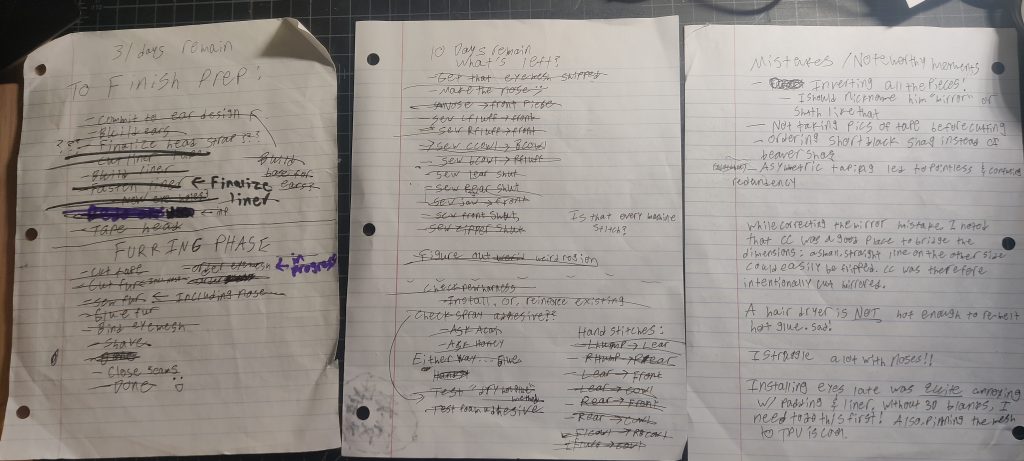
What’s next?
Well, I’ll definitely continue making these, and documenting my experiences while doing so! I’m told the third go-around is when makers hit their stride, and hopefully two suits worth of epic-tier mistakes is enough to make that true.
I’d also like to look in to making a shorter-term build log so I can post daily progress on my next project. I didn’t have time for this one as every minute counted, but my next project should be much more laid back. Hopefully. This little forum that just opened up seems like a good place to do such a thing.
Finally, here’s a full list of thanks and credits:
- $FRIEND, who wishes to remain unnamed, for inspiring me to commit to this project
- Honey Dadger, for the base, assistance with working with it, and generally being awesome
- Roh, for ear sculpting advice
- Waggery Costumes, for being an incredible source of inspiration
- Arcane Sorcery for the eye mesh
- Gatorwave, for advice on prepping TPU heads
- The Fursuit Help and Fursuit From Scratch Telegram groups for general advice and commentary
Until next time!

Leave a Reply